
Why the Future of Movement Has to Change
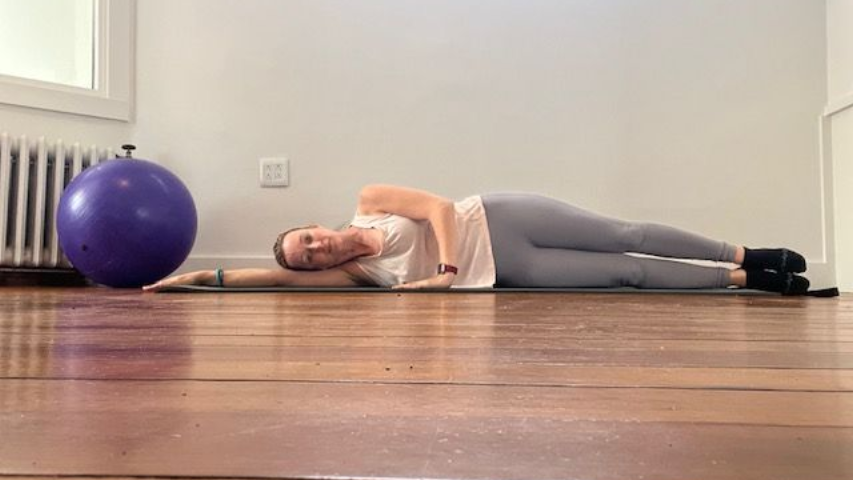
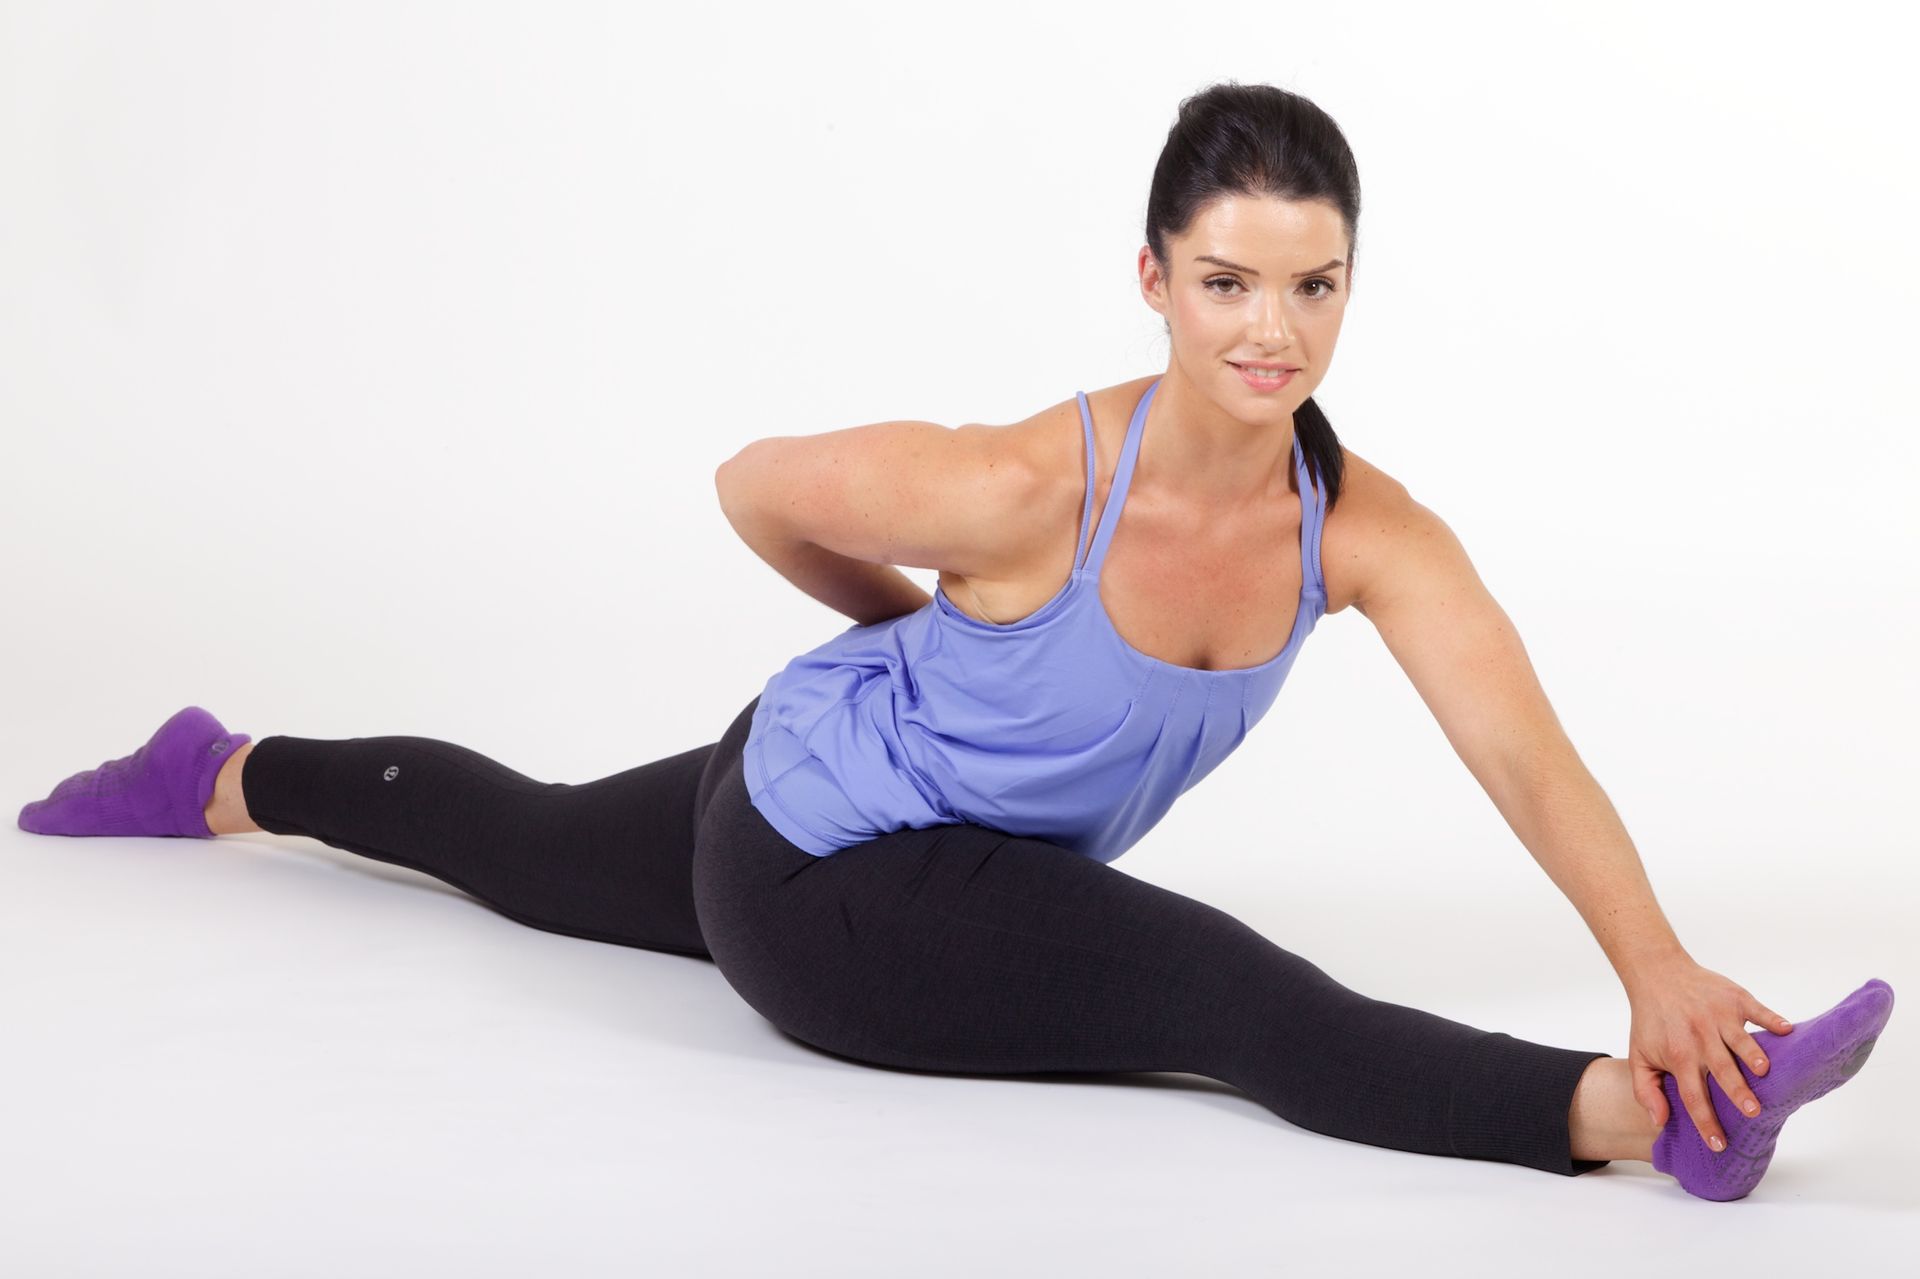
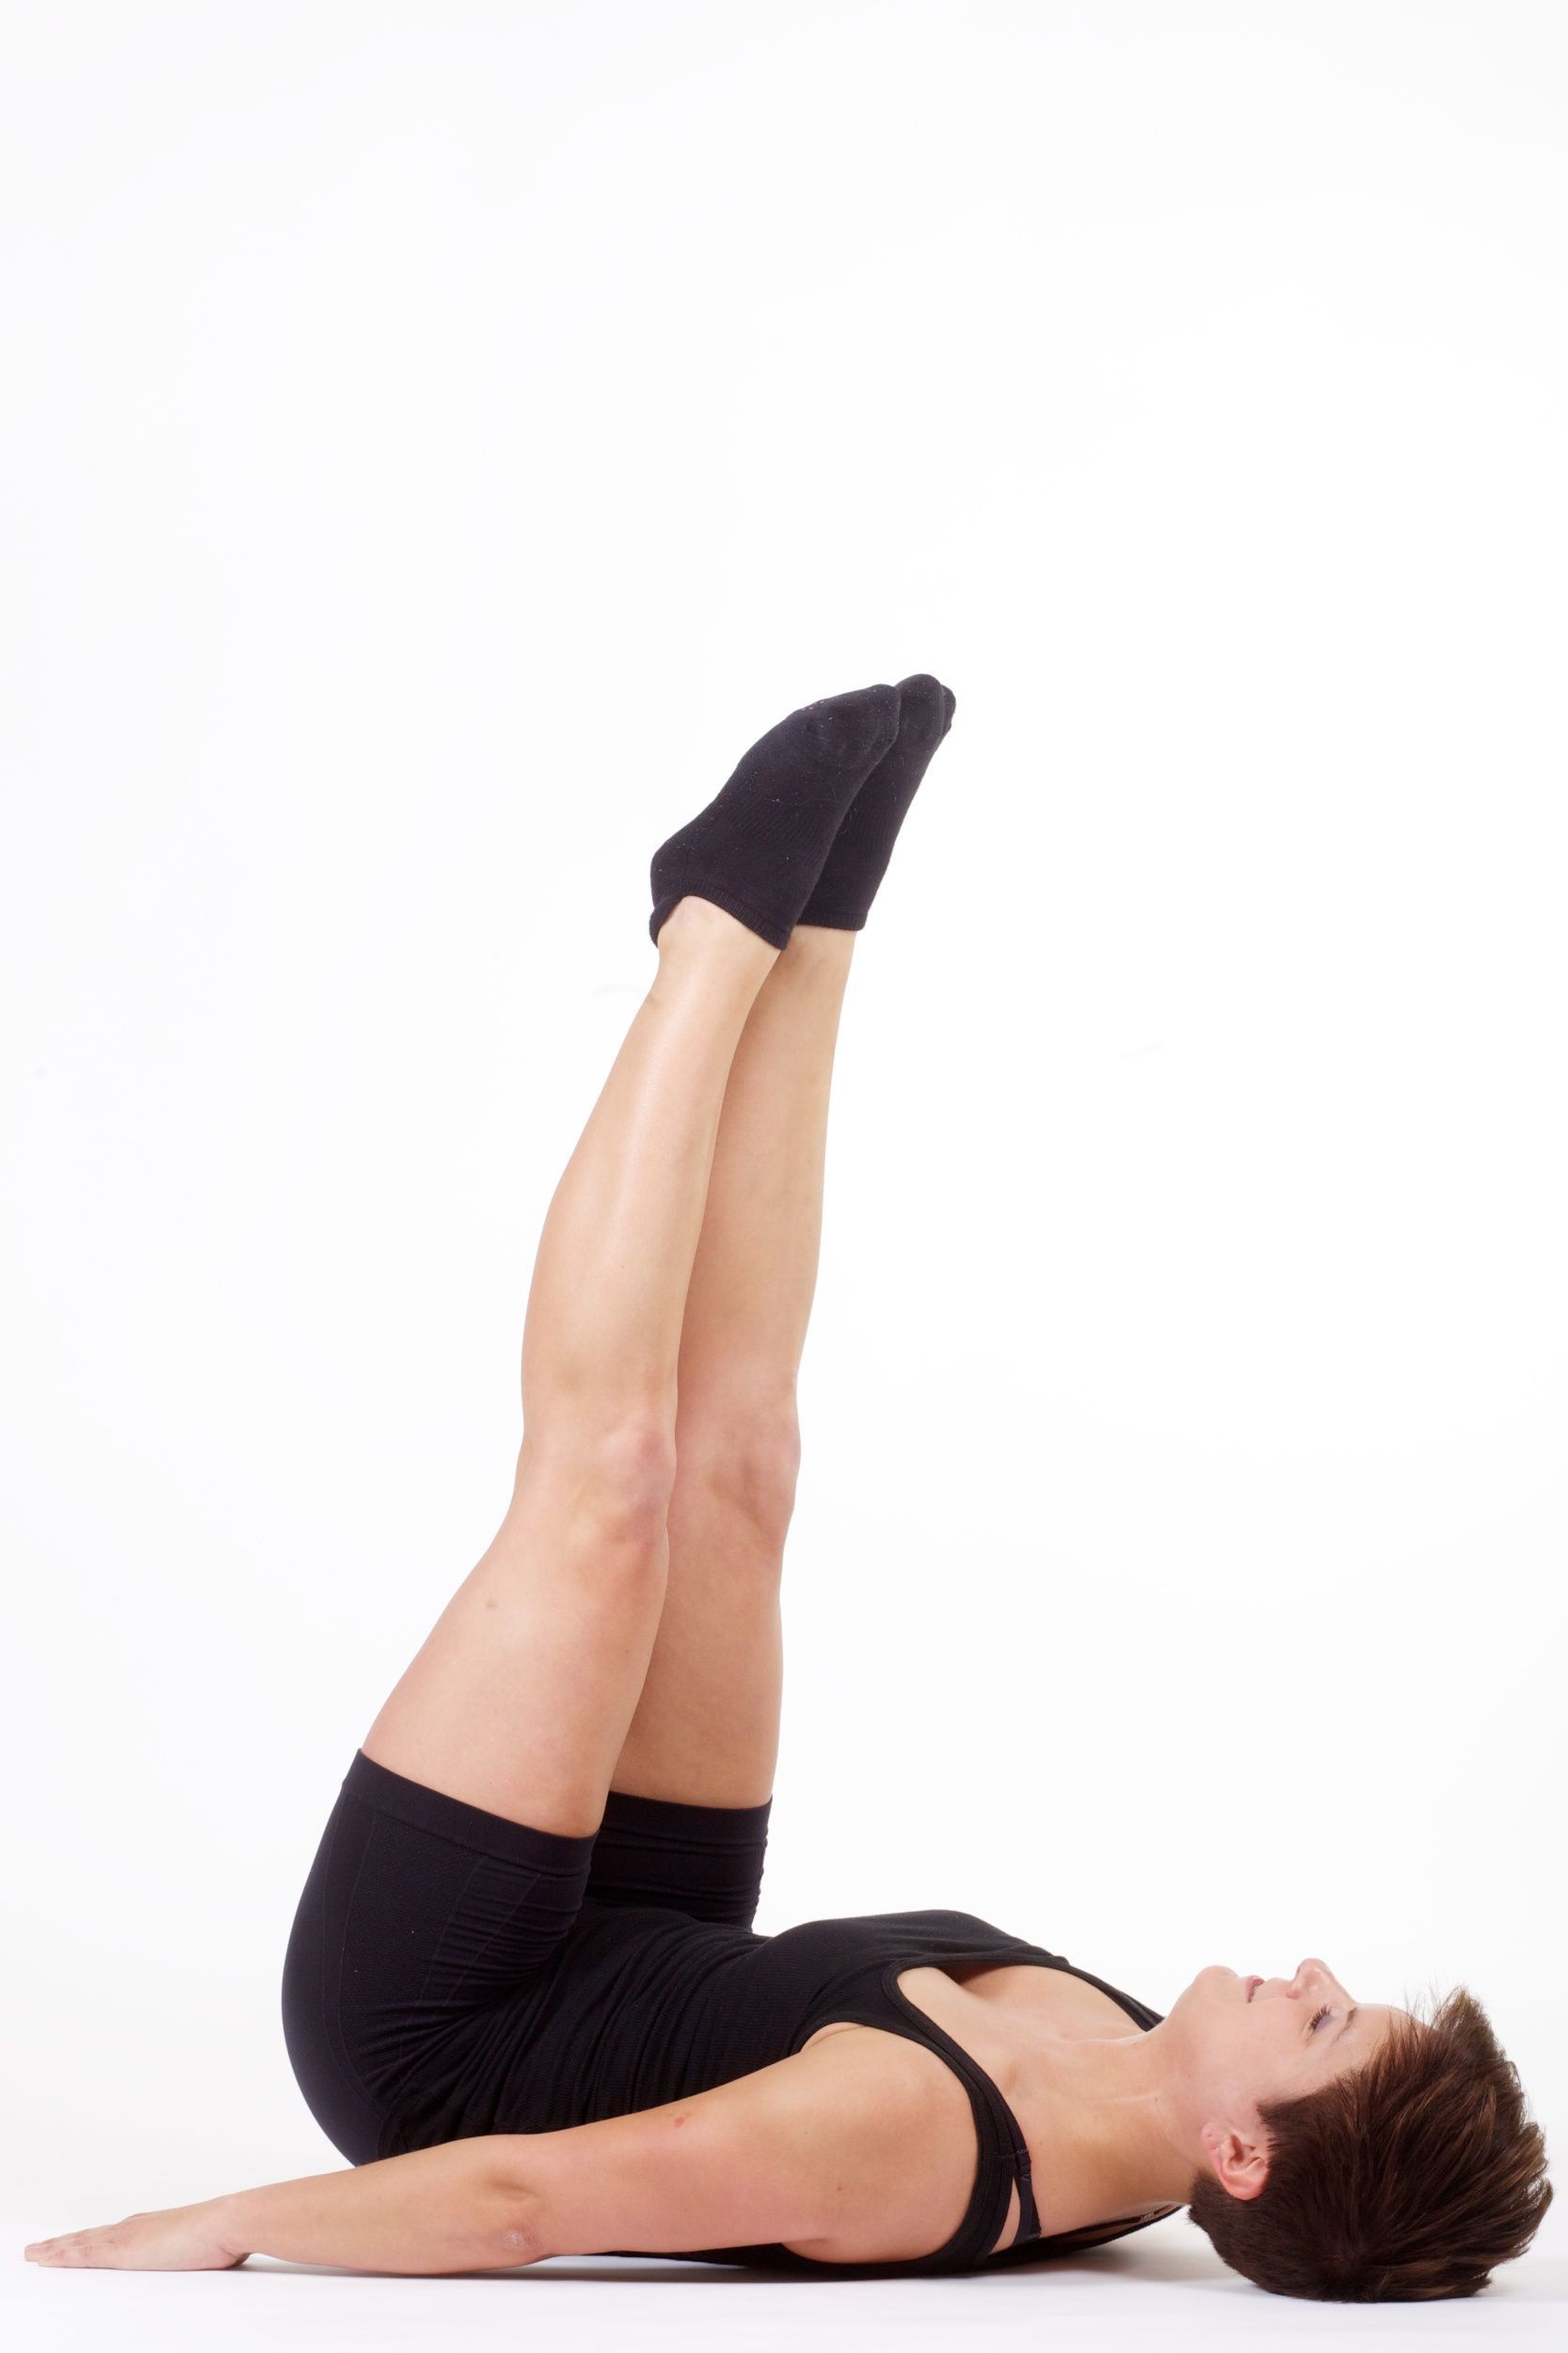
Stability Is Not Stillness — It’s Organized Effort “Hold still.” If you’ve ever taken one of my classes, you’ve heard me say it. And if you’ve ever felt it, you know it isn’t about freezing. Most of the time when a teacher says “hold still,” it’s because something else is happening. Maybe bouncing, gripping, bracing, or compensating of some kind. Something is moving that shouldn’t be. But “hold still” does not mean “be still.” Those two cues might sound similar, but in Pilates they mean very different things. Be Still vs Hold Still Be still is a pause. It’s a full stop. It’s often used so you can feel one specific thing: “Be still… feel your ribs.” “Be still… notice your pelvis.” “Be still… now breathe.” It’s about attention. Hold still is something else entirely. Hold still means: Stay organized Stay lifted Stay connected Stay breathing You are not passive. You are not collapsed. You are actively maintaining shape while something else moves. It is one of the most advanced skills in Pilates. Why Teachers Say “Hold Still” We say it when we see: The pelvis shifting The ribs popping The shoulders helping Momentum sneaking in The body is trying to get the job done by recruiting the wrong helpers. So “hold still” is really a request for clean movement : Let only the part that is supposed to move… move. Everything else must work just as hard, just not by changing position. Side-Lying Leg Lifts: The Perfect Example Let’s take one of the most deceptively simple exercises in mat Pilates: Side-lying leg lifts. On the surface, it looks like this: You lie on your side You lift the top leg You lower it But what is really happening is far more complex. This exercise is designed to balance one side of the body on the other . The top leg moves. The rest of the body holds still. Not rigid. Not collapsed. Not gripping. Holding. What “Hold Still” Actually Means Here While the top leg lifts and lowers: The bottom side of the body is working. The bottom rib cage is lifted off the mat, creating space The waist is long, not sagging The spine is stacked, not rolled back The top hand in front of the body is not there to lean on, it is there to quiet the rocking forward and backward. The pelvis stays level. No tipping. No hiking. No rolling. Everything that is not the leg is holding still... but nothing is relaxed. This Is Why Breathing Matters If you stop breathing, you are not holding still. You are bracing. Holding still means you can: Maintain the shape Keep the effort And still let the breath move That’s where the deep stabilizers do their job: The abdominals The muscles along the spine The lateral hip The inner thighs The breath becomes the test: Can you stay organized even while something else is moving? That’s real control. Why This Cue Changes Everything “Hold still” teaches the nervous system something incredibly important: You don’t create strength by moving more. You create strength by controlling what doesn’t move . That’s how: Hips become more stable Backs become more supported Movement becomes quieter and more powerful It’s also how injuries are prevented, especially in people who are flexible, mobile, or used to muscling through. So Next Time You Hear It… When I say “hold still,” I’m not asking you to freeze. I’m asking you to: Stay lifted Stay connected Stay breathing Stay honest Let the right thing move. Let everything else do its job. That’s Pilates.

Small, regular efforts add up
The Manual I Wish I Had When I Started Teaching Pilates

A Thoughtful Approach to Barre, Mat Pilates, and Reformer Progression in the Modern Studio

In Every Movement
(And What to Say Instead)
Why I Built a One-to-One, Self-Paced Teacher Training Model
On music, Pilates, and the strange urge to prove you were there first
More Than Just Neck Comfort


